How I Transformed My Boring Archway With Textured Wallpaper — Full Before and After
A plain archway became the most beautiful detail in our home for just $110. Here is exactly how I used paintable textured wallpaper and molding to completely transform our entryway archway — including the hardest parts nobody warns you about.
HOME DIY & DECOR
6/16/20267 min read
That Plain Archway Is Begging for Texture
Our archway had been staring back at me for months, especially after I stenciled our half bathroom and was looking for more fun, budget friendly upgrades to do. The archway wasn't broken, just boring. It sat between our entryway and playroom like it was apologizing for existing, and every time I walked past it I thought: There has to be something better.
Then I found it: paintable textured wallpaper. And for under $50 a roll.
This project cost roughly $110 total, took one weekend, and completely transformed my entryway leading into the toy room. Here's exactly how to do it. And if you love these kinds of project, make sure to check out my previous post on how I completely transformed our half bathroom for under $35.
Want to shop this whole project in one place? Check out my Archway Glow-Up Idea List
Full transparency: some of the product links in this post are affiliate links, which means I earn a tiny commission if you click through and buy. It doesn't change the price for you, and it helps me keep the blog running and creating projects like this one. Thank you for your support!
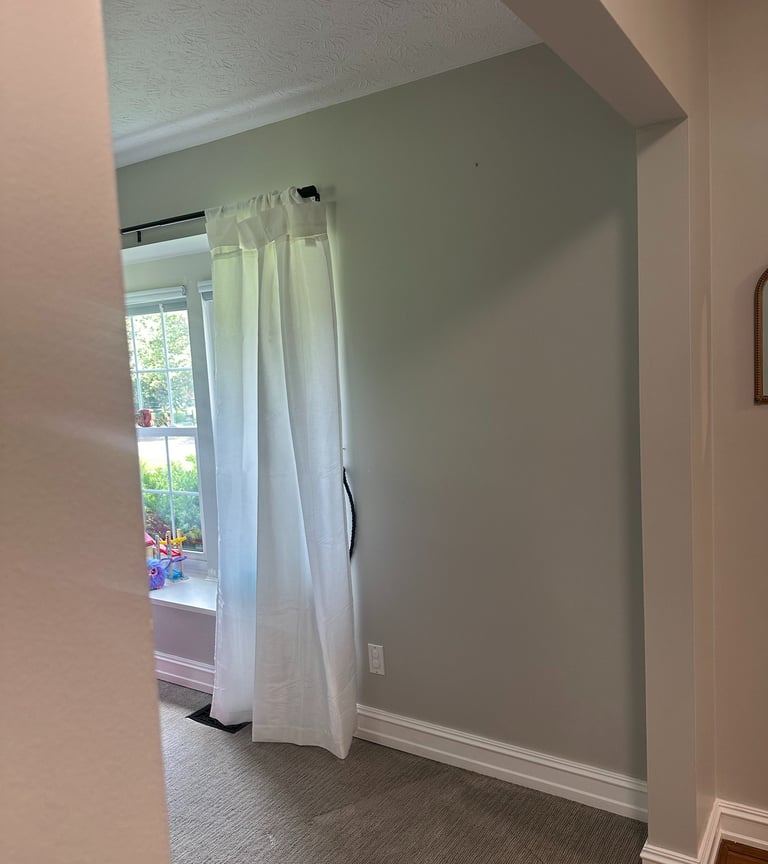
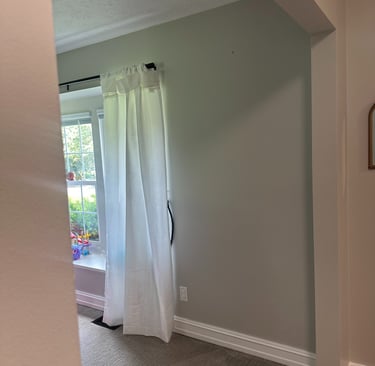
Table of Contents
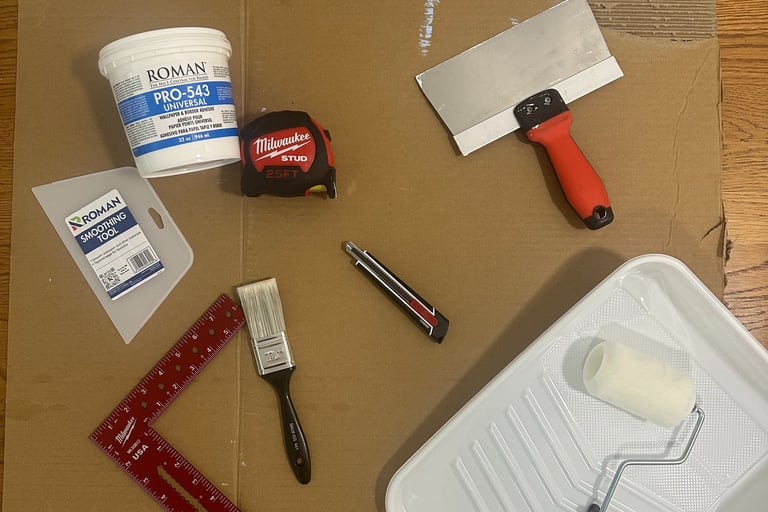
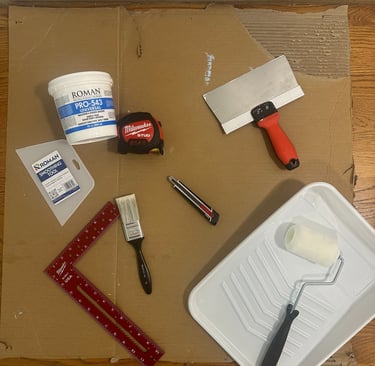
The Supplies — Everything You Need
One of my favorite things about this project is how straightforward the supply list is.
Here is exactly what I used:
The Materials:
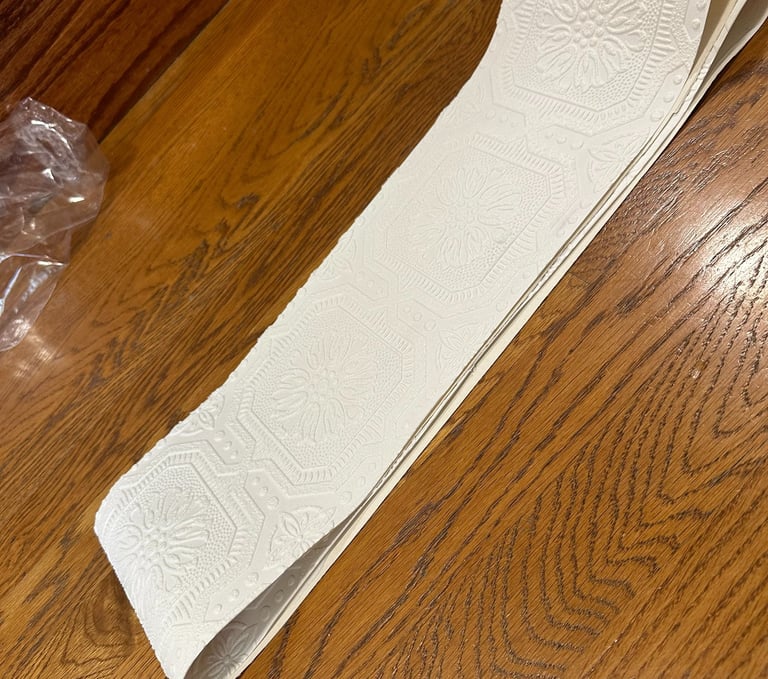
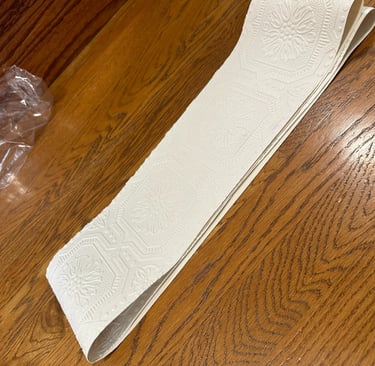
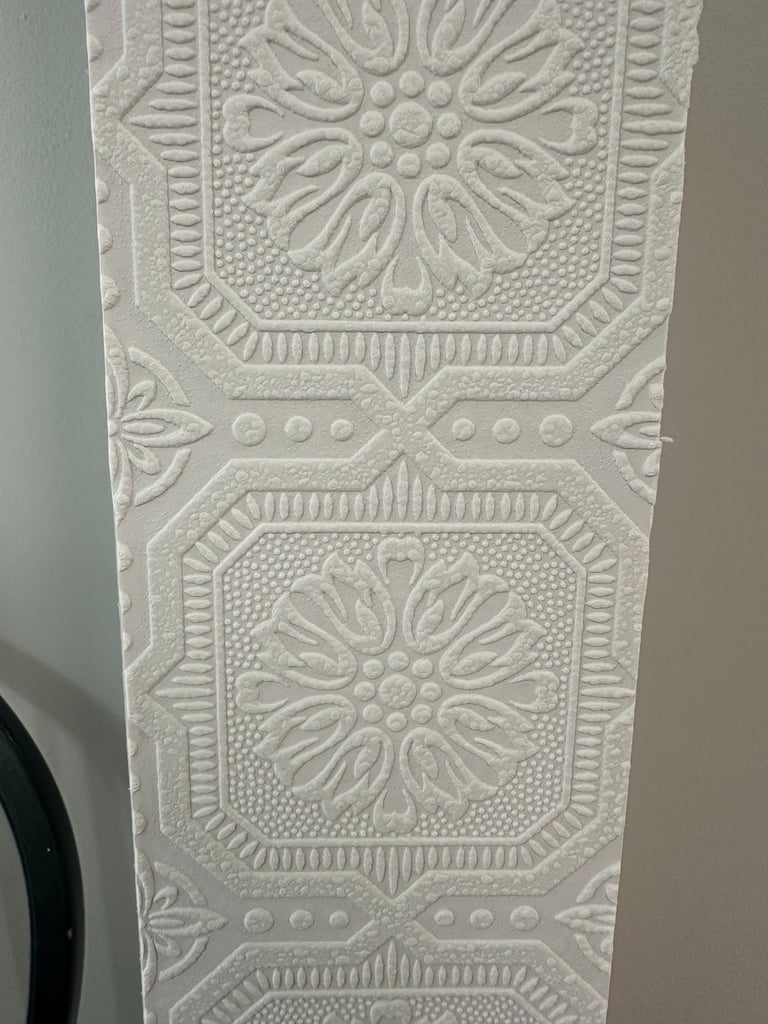
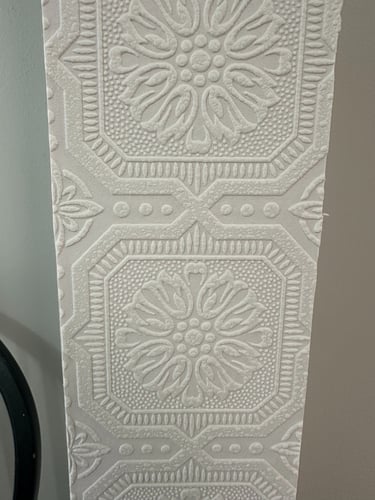
Paintable textured wallpaper — $46 per roll, the Cornbury pattern, ornate medallion embossed design
Roman PRO-543 Universal wallpaper adhesive — smooth application, strong hold
Door casing molding — $45 total, added after the wallpaper was installed
Paint for the molding — matching white to tie it all together
The Tools:
Roman smoothing tool — for pressing the wallpaper flat against the surface
Snap off, retractable utility knife — the sharpness of your blade is everything on this project
Tape measure and carpenter's square — for measuring and marking straight lines
Paintbrush and mini roller with tray — for applying adhesive
Drop cloth or cardboard for floor protection
Step 1 — Measure Everything Twice
Before you open the wallpaper or touch the adhesive — measure your archway trim pieces carefully.
For our archway I measured the two vertical side pieces and the horizontal piece across the top. Write everything down.
A carpenter's square or a ruler is your best friend here. Your trim pieces may look perfectly straight but measure them at the top, middle, and bottom because walls and trim are rarely as perfectly square as they appear. Any variation in width needs to be accounted for in your cut.
Pro tip: Cut your strips slightly longer than you need. You will trim the excess after the adhesive dries — and having a little extra to work with is much easier than coming up short.
Step 2 — Apply the Adhesive
Mix your adhesive according to the package directions and apply it to the back of your wallpaper strip using a paintbrush or small roller. You want even full coverage with no dry spots — the edges especially need good adhesive contact because those are the areas most likely to lift.
Apply adhesive to the wall surface as well for a double-bond application. This is called paste-the-wall and paste-the-paper and it gives you a significantly stronger hold especially on trim pieces that have edges exposed to air on both sides.
Let the adhesive get slightly tacky before applying — not wet, not dry. That tacky stage is your working window and it gives you time to adjust the paper before it sets.
Pro tip: Cover your wall paper strip first and fold the sides inward like a newspaper, this will prevent it from drying too much while you cover your wall.
Step 3 — Hang the Wallpaper
Starting with one of the vertical side pieces, align your wallpaper strip carefully along the trim and press it into place from top to bottom. Use your Roman smoothing tool to work out any air bubbles, always smoothing from the center outward toward the edges. Work slowly and deliberately — rushing this step is how you get bubbles and lifted edges.
The edges are the hardest part. Press them down firmly with your smoothing tool and then your fingertip, making sure the adhesive has full contact along every inch of every edge. If an edge lifts, apply a small amount of additional adhesive with a brush and press again. Hold it for a moment. The adhesive needs contact time to bond properly.
Repeat for the horizontal top piece and the second vertical side piece.
Step 4 — The Cuts — The Hardest Part
I want to be very honest with you about this section: the cuts were the hardest part of this entire project.
Getting completely straight and level lines is genuinely challenging — especially on an archway where you have corners meeting at specific angles and edges that need to be clean and precise. This is not like cutting wallpaper for a flat open wall where you can trim along a baseboard. These are visible edges that will be seen from multiple angles every single time someone walks through the doorway.
Here is what I learned that made all the difference:
Wait until the wallpaper is completely dry before making your final cuts. I applied the paper, smoothed it in place, and then walked away for 24 hours to let it completely dry. This is important because wet or even slightly damp wallpaper tears rather than cuts cleanly — and a torn edge on an archway trim piece is not something you can hide.
Once fully dry, use a sharp utility knife blade — and I cannot emphasize sharp enough. A dull blade drags and tears. A sharp blade cuts in one smooth pass. If your blade has made more than a few cuts, swap it for a fresh one before you tackle the archway edges.
The putty knife trick that changed everything: Hold your putty knife against the wall surface right at the edge of the trim, and run your utility knife along the putty knife. The putty knife guides your blade and keeps it from wandering onto the wall surface. This gave me the cleanest, most precise cuts of the whole project and I wish I had known to do it from the very beginning.
Work slowly. One pass if possible. Let the sharp blade do the work rather than applying pressure.
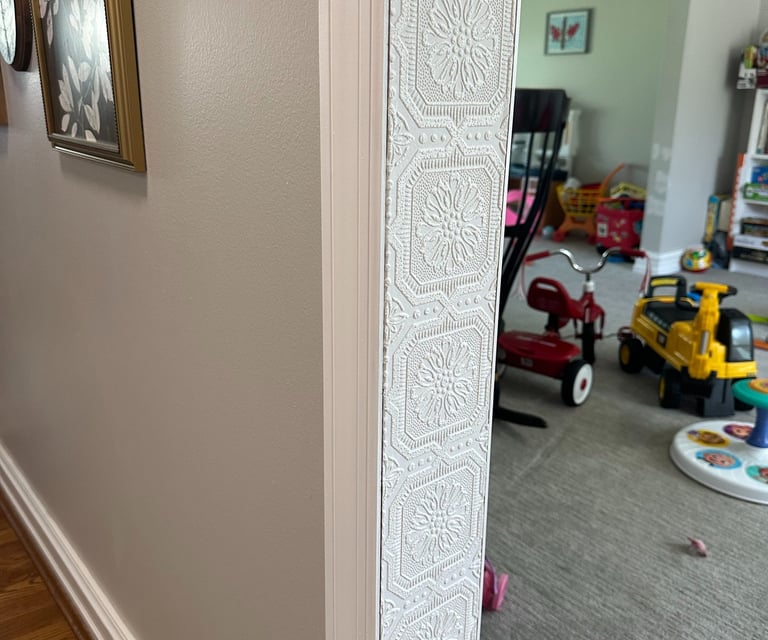
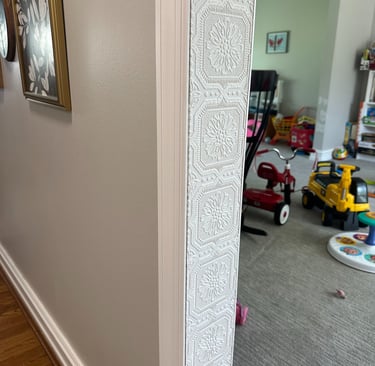
Step 5 — The Molding Addition (The Plot Twist)
Here is where the project took an unexpected turn — and became something I am genuinely obsessed with.
When the wallpaper was installed and I stepped back to look at it I was pleased. The texture was beautiful. The pattern was exactly what I had hoped for. But something felt unfinished. The edges where the textured wallpaper met the plain wall were as clean as I could get them but they needed something — a defined border, a transition detail, a finished edge that made it more intentional.
So I added door casing molding.
I measured and cut pieces of simple door casing molding to frame the outer edges of the wallpaper on the archway, painted them the same white as the existing trim, and installed them to create a clean finished border between the textured wallpaper and the plain wall.
The difference was immediate and dramatic. What had been a beautiful DIY project became a completely intentional architectural detail. The molding makes the wallpaper look like it was always meant to be there — like the archway was designed this way from the beginning.
Total added cost: $45 for the molding. Worth every single penny.

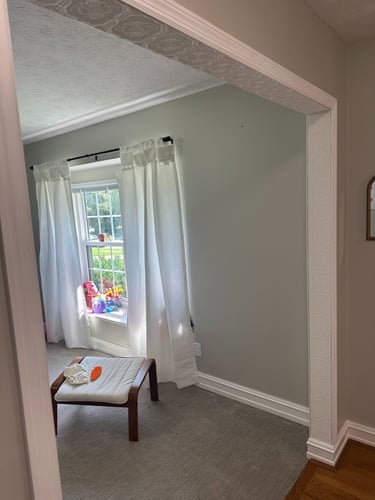
The After — Here Is What $105 and One Weekend Did
I am obsessed. That is the only word for it.
The archway went from a plain painted trim piece that nobody noticed to the first thing you see when you walk through the front door. The texture — that beautiful ornate medallion pattern — catches the light differently at different times of day. The molding frames it perfectly. And the fact that it is still technically unpainted means I can change the color any time I want without starting over.
My family loves it. And every time I walk past it I still stop and look at it — which is the best possible result from any home project.
What I Would Do Differently
Start with the sharpest blade possible, and swap it often.
This is the single most impactful lesson from this entire project. A dull blade doesn't cut textured wallpaper cleanly; it drags, tears, and leaves rough edges that catch light and look unfinished. A sharp blade glides through in one smooth pass and gives you professional-looking results. Don't wait until your blade is obviously dull. If it's made more than a handful of cuts, replace it. Fresh blade = 10 times better edges.
Have extra adhesive mixed and ready for the edges.
The edges of trim pieces are the highest-risk area for lifting, especially once the wallpaper starts to dry. Having extra adhesive on hand to press down any lifted corners or edges saved me more than once and took 30 seconds instead of having to re-mix and start over.
Take your time smoothing out bubbles in the wet stage.
Every air bubble you work out while the adhesive is still tacky is one you won't be staring at six months from now. Slow, deliberate smoothing from the center outward toward the edges is worth the extra five minutes.
What Is Coming Next
We have another archway in the playroom leading to the dining room area — and I already have a new idea of what I am going to do with it. It is a project for another day and another post — so be sure to subscribe to follow along!
The archways in this house are getting their moment. One at a time.
STAY CONNECTED
GET IN TOUCH
Questions or ideas?
AngelaMarie@mommakeshome.com
© 2026. All rights reserved